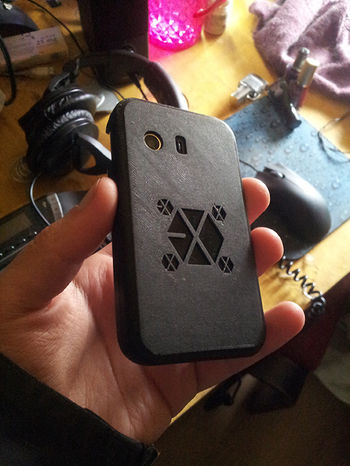
3D printed phone case
Project date: August 2014
Design made by: John Arnar Sveinbjörnsson
Design printed at: FabLab Reykjavík with the Makerbot Replicator 2 in PLA black.
Interesting link: Blender tutorial - How to set up measurement units
Contents
Preparing file in Blender
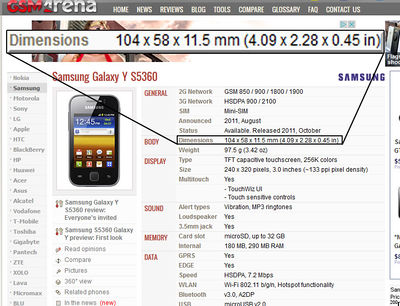
1. Before making the model I went to http://www.gsmarena.com and searched up the phone I was gonna use, which in my case was a Samsung Galaxy Y (S5360). As you can see this webpage is extremely useful, with very precise measurements, on this particular phone.
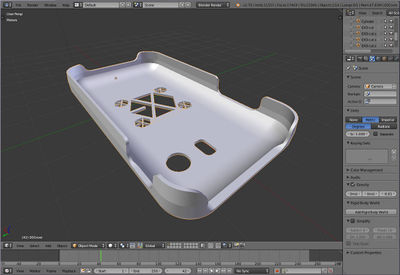
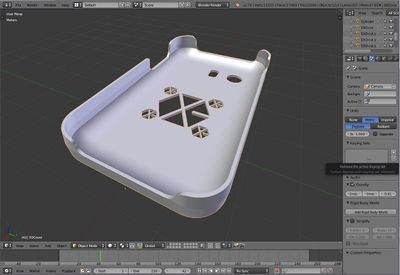
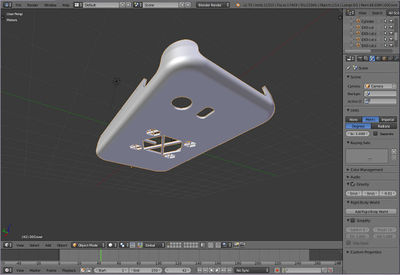
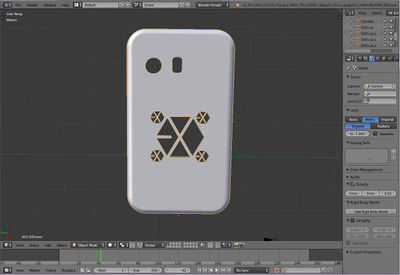
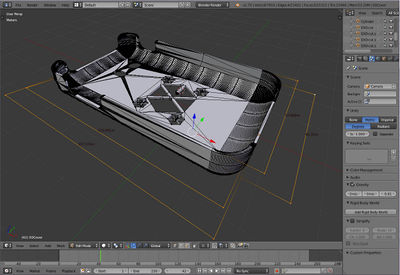
2. Here you can see a few pictures of the finished model:
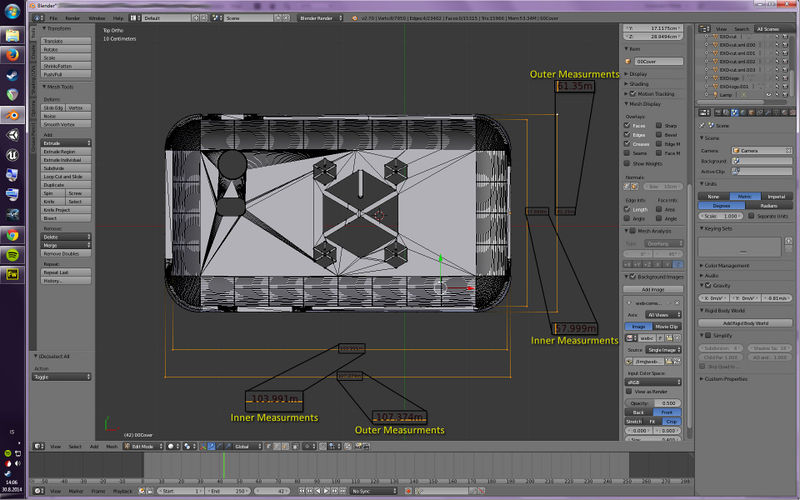
3. Here you can see how I manually extracted the measurements from the model:
In this process the dimensions are most important, not the actual units themselves (even though the units are correct on the picture right now). This is because you can always scale the model uniformly in Makerware later on before printing.
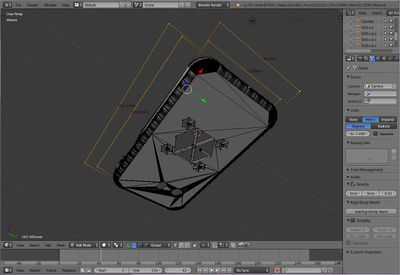
A few different views of the model with the same measurements: (click to enlarge image)
4. Next step is to export the model from Blender and into Makerware...
Importing from Blender to Makerware
a. In Blender start by selecting your model (make sure that you've got only the model you want to export selected and nothing else).
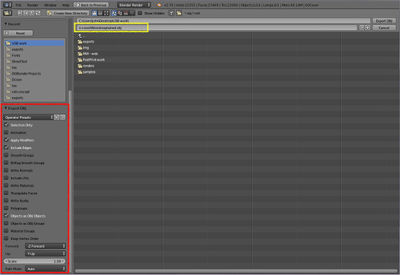
b. Click "File" -> "Export" -> "Wavefront (.obj)" in order to export you model, as seen on this picture here below:
c. Name your model, select where you want to save the file to and make certain that you've got only the following settings checked on the lower left hand side of the screen "Selection Only" "Apply Modifiers" "Include Edges" and "Objects as OBJ Objects" as you can see in the picture below:
d. Next up is to open up the file you've exported in Makerware. When you open up the file you've get 2 pop-ups.
Nothing to be concerned about, neither of the options will make much of a difference since you'll need to fiddle around with the model in Makerware afterwards anyways. So you might as well select the default highlighted options and then move on to the next step.
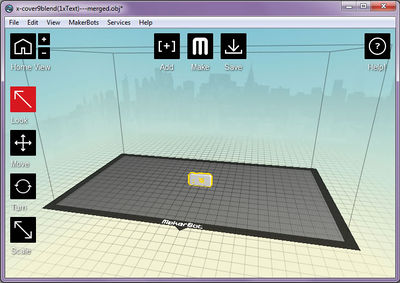
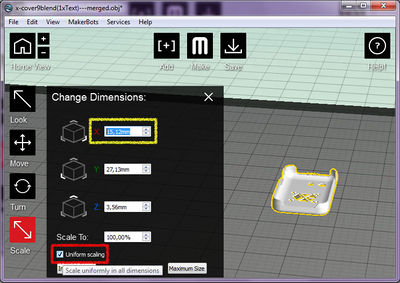
e. After opening the .obj file, that we exported from blender, in Makerware we can see that it's definitely not rotated the right way nor is it to the scale that we want it to be as you can see here below:
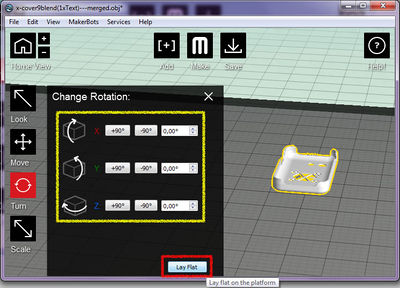
f. In order to fix this we'll have to start by selecting "Turn" on the left hand side of the program, then proceed to fiddle with the X , Y or Z axis buttons until the model is standing in a manner you want it to. Then finally clicking "Lay Flat" to make certain the model won't be floating in the air.
g. Afterwards we click the "Scale" button also on the left hand side of the program. Make certain that "Uniform Scaling" is on before changing any of the measurements.
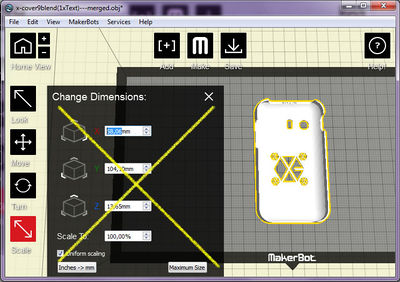
h. Now you might assume that you should just input the dimensions of the phone itself, BUT ...
But that would be wrong, since that would mean that the edges of your phone would line up with the outside edges of the cover and thus the phone wouldn't fit in the cover. In order to avoid this we must check the thickness of the edges of the case by going back to Blender and doing a little bit of measuring.
i. As you can see on this picture I've dragged out two vertices from one of the sides and found out that it's roughly 1mm wide:
So knowing that we have two of these edges on each side of the case we'll simply do a little bit of math to figure out how wide the model should be within Makerware:
Phone width: 58mm Edge width: 1mm
1x "Phone width" + 2x "Edge width"
58mm + (1mm+1mm) = 60mm
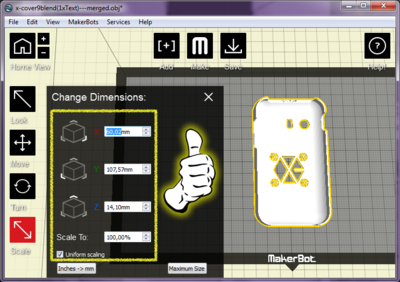
So the width of the model should be equal to 60mm.
j. Now you simply input the 60mm measurement into the appropriate axis in Makerware's Scale tool. As you can see below the width of the phone case happened to be on the X-axis. You see that all the other measurements keep in uniform with your change, so you won't have to worry about the rest as long as your measurements during the modeling phase remained consistent.
k. PRINT AWAY!
