How to use the Poli-Tape PT-06
1. Prepare your design as a vector graphic and export it as PDF.
Don't forget that if you use text in your design, you need to mirror the words (flip it).
( Getting started in Inkscape : How to convert an image to vector )
2. Cut out you design with the vinylcutter.
When cutting you need to use the poli-tape vinyl, not the regular vinyl !
( tutorial Roland_GX-24: How to use the vinylcutter )
3. Prepare your sticker.
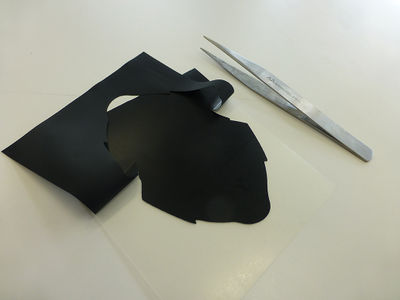
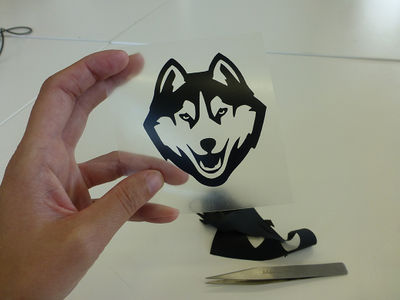
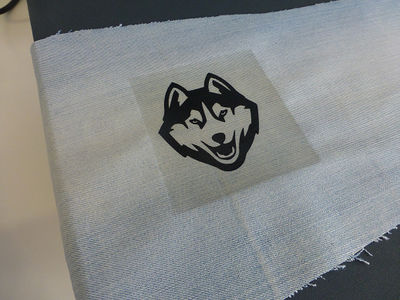
Peel away the background. Leave the pieces you actually want to transfer.
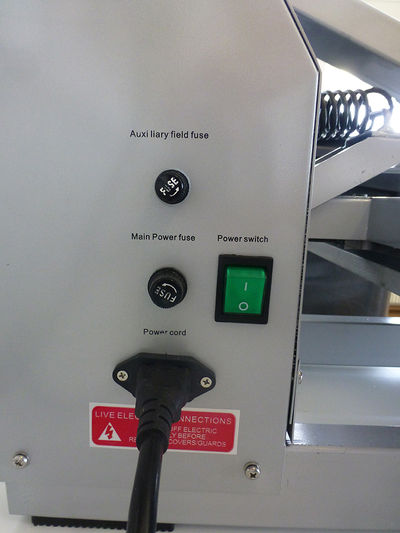
4. Turn on the machine.
Flip the big green button on.
5. Let the machine heat up.
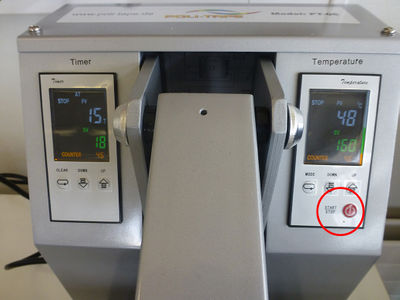
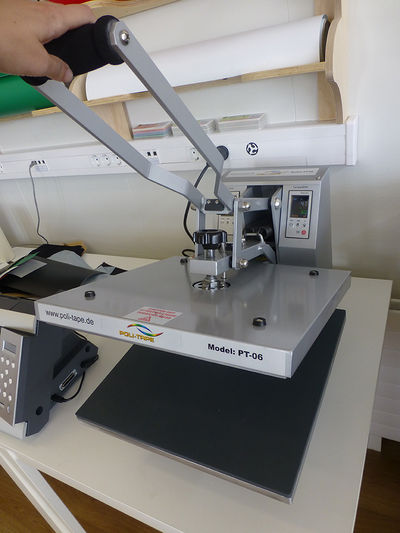
At the bottom of the right display there is a 'start/stop' button. Press it once to start heating.
As you can see one the display (in green numbers), it will heat up to 160 degrees. (you can set a different temperature with the arrows if needed.)
6. When machine is has beeped, open it up.
Pull gently on the big handle. Be aware that you don't burn yourself on the heated top plate of a 160 degrees!
7. Place you fabric on the plate, then place your design on top.
The design should be placed with the sticky side on the fabric.
8. When ready, push the machine closed.
Wait for the machine to beep. (on the left display you can see the timer counting down).
9. When machine has beeped, open it up.
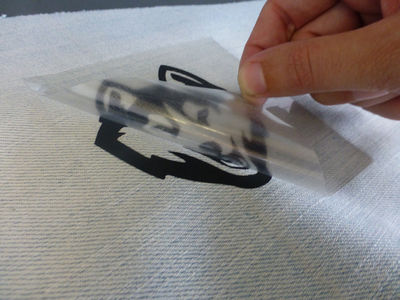
And gently peel away the plastic layer. The Poli Tape vinyl should now have melted onto the fabric.
10. Remove your work from the machine and turn it off.
Let the machine stay open, so it can cool. (Make sure people don't accidentally touch it.)
