First CNC Project
As a first assignment/test on the Shopbot, and as an introduction to the world of CNC I got to work on a couple of name plates for a teacher at the school here.
I started off by watching this tutorial that starts at the very basics. If you are as new to CNC as I was, I really recommend watching the video.
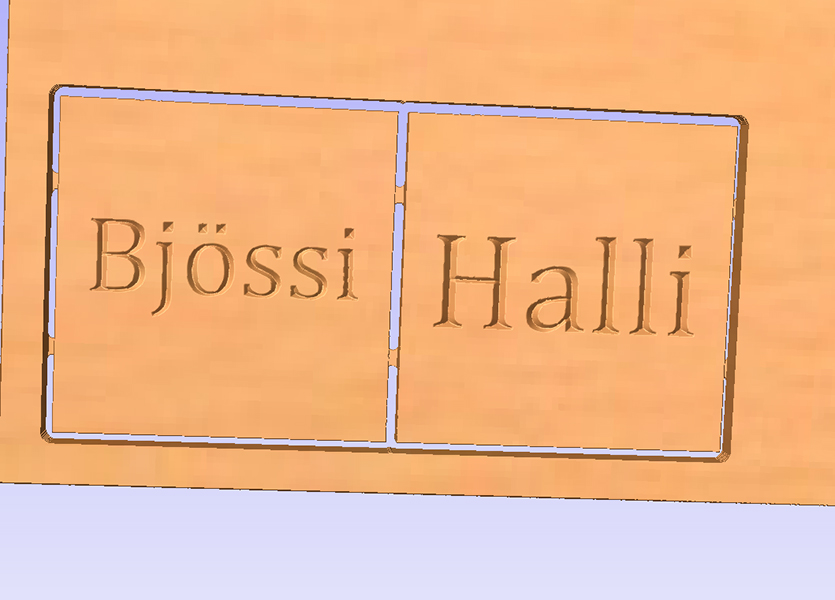
After the introduction I started working on the drawings on Vcarve on the Lab computers. The assignment was to make two wooden plaques at 200 x 200 mm with the names Bjössi and Halli at the center of the plaques. Bonus points for placing the plaques close enough to each other to avoid excess material loss.
In the end I managed to create this with a bit of hit and miss fiddling with the settings and some tips from Þórarinn.
I set the document size to correspond the actual piece I worked on to help set it in the machine.
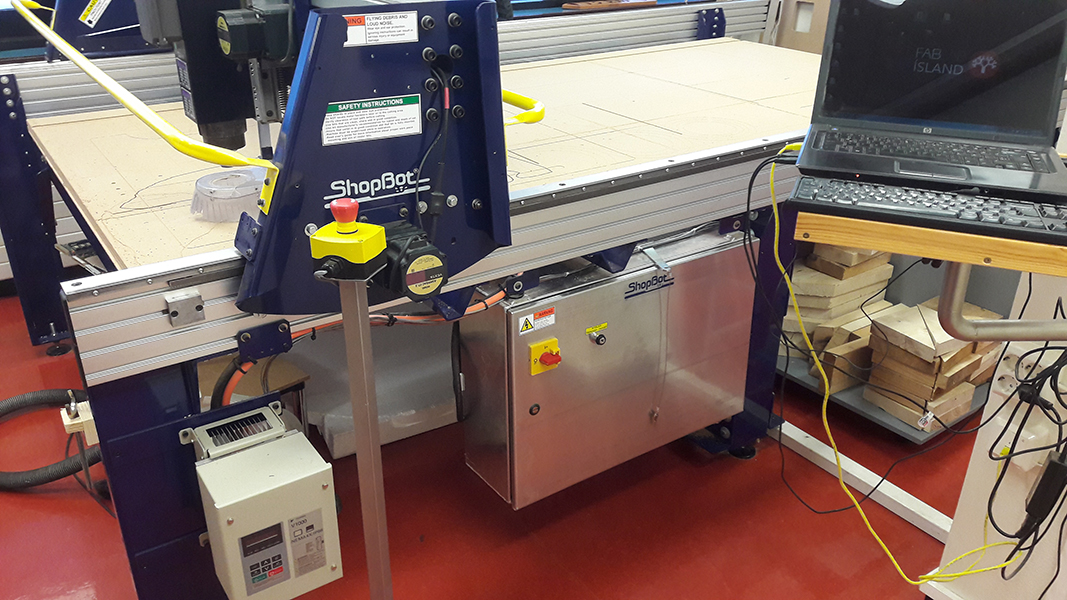
First time(s) using the Shopbot can be a little daunting. It's HUGE, moves around, and has metal bits spinning at high speeds. The machine is run with the connected laptop. Press K for manual control of the unit. Arrow keys and pgup/pgdn move the unit, pressing ctrl in conjunction will move with more speed. Just be very careful no one is too near the machine, e.g. leaning on it. AND when you are done moving and go check the machine, ALWAYS TURN THE MANUAL CONTROL OFF. You don't want anyone wandering in and pressing at the movement keys, by accident or otherwise, while you are bent over the machine fiddling with it.
On top of the pole on left of center is the emergency off-switch. Only good for actual emergencies with people in danger though. If you just want to pause the machine, press space.
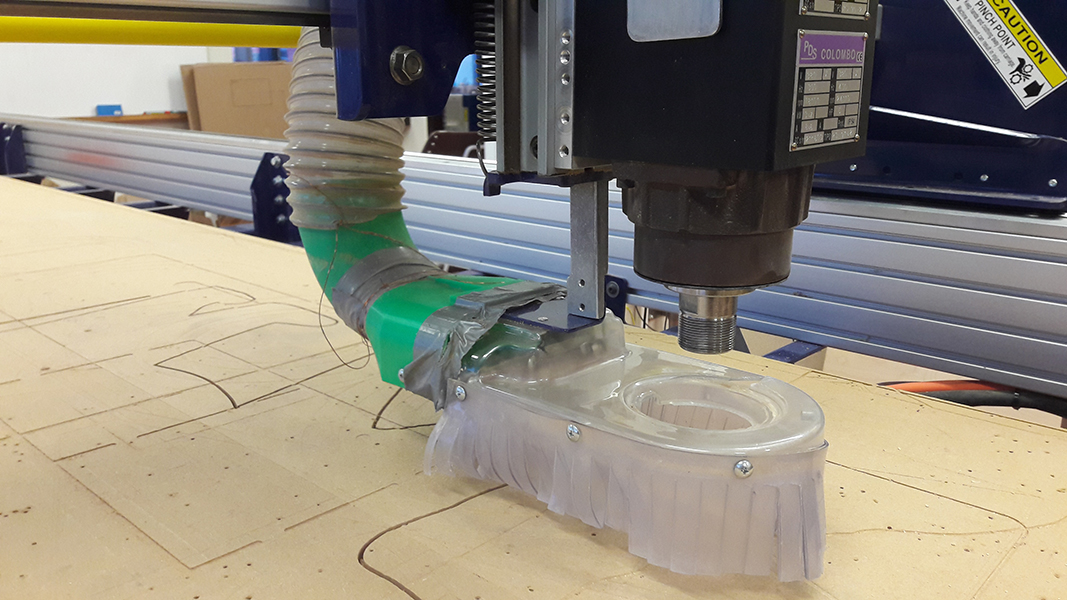
Spindle unit (without a bit) and the dust cover. Nut to loosen/tighten the dust cover is at the back of the unit.
First up you need to screw the piece of material used to the spoilboard (the material at the machine bed with signs of previous cuts), then zero the machine "home" to where you wish to start. Zeroing the X (long side) and Y (short side) can be done via manually moving the unit. Setting the Z (up and down vector) to 0 requires using the zeroing plate stored at the side of the spindle unit. Just move the unit to the centre-ish of your piece, set the 0 plate down under the spindle, and start the program on the laptop that does the zeroing for you. Cuts menu -> Zero Z-axis with zero plate. And that's it! Next move the unit back home via the Jog menu -> Jog home. The unit will move directly to the home position, so make sure there's nothing in the way. It is also good to check the 0 Z position is actually at the position you want it to be. Distortions on the material etc can cause the bit to be slightly above the surface.
Before you can get to the actual cutting, you need to run a spindle warmup routine, if the machine hasn't been used recently. This will assure the parts inside the spindle will be ready for use and won't get gradually damaged by getting used too cold.
Oh and when you start cutting, ALWAYS start the spindle unit before you actually begin the cut. AND turn on the vacuum as well. Be prepared to hit space to interrupt the machine if anything goes wrong.
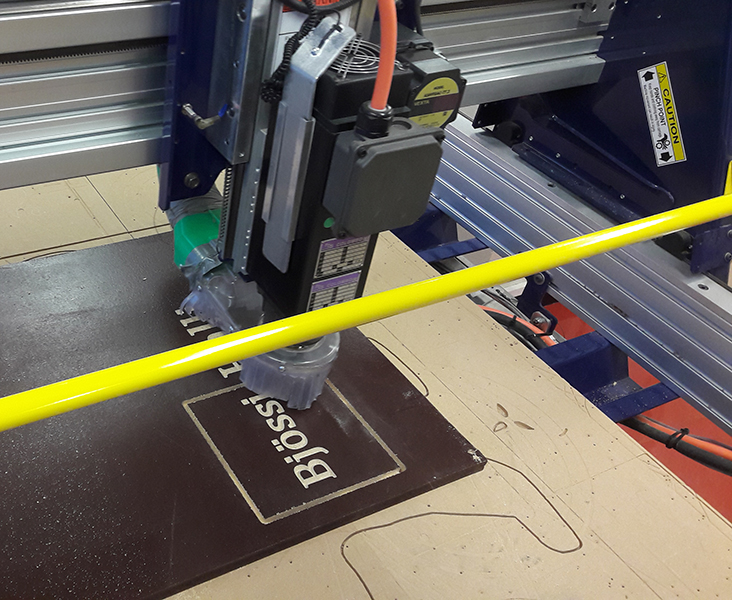
Here goes! Everything has gone well, and the project is almost done.
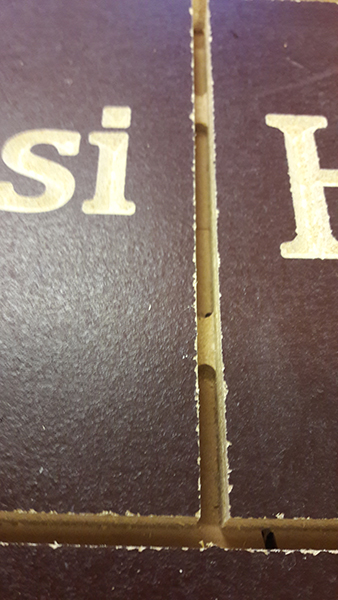
The tabs worked out wonderfully as well.
In the rush of delivering the end product to the teacher we promised to do this to, I sadly forgot to take a photo of the final pieces. But the job was otherwise a success!
