Testing out laser printer
I started out my first week at the Lab by learning Inkscape and the basics of the laser cutter. The program itself is fairly easy to learn at least in the basic form, but it also has a lot of depth to learn further.
Learning to make and prepare files that are compatible with the laser cutter is fairly straightforward as well, although I made some failed attempts at first. One sample I tried was too small and had a lot of tiny details, which ended with burning cardboard and a smoking black hole instead of a nice detailed flower.
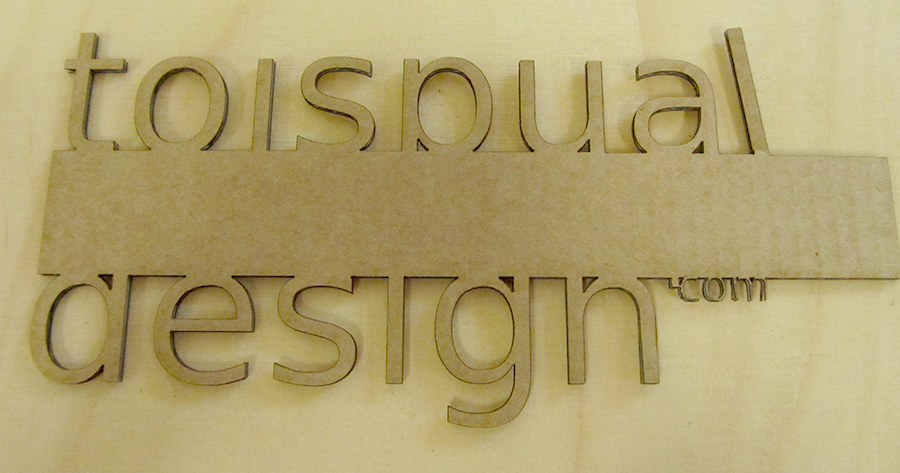
My first successful test was creating a cardboard shape of the logo of my website:

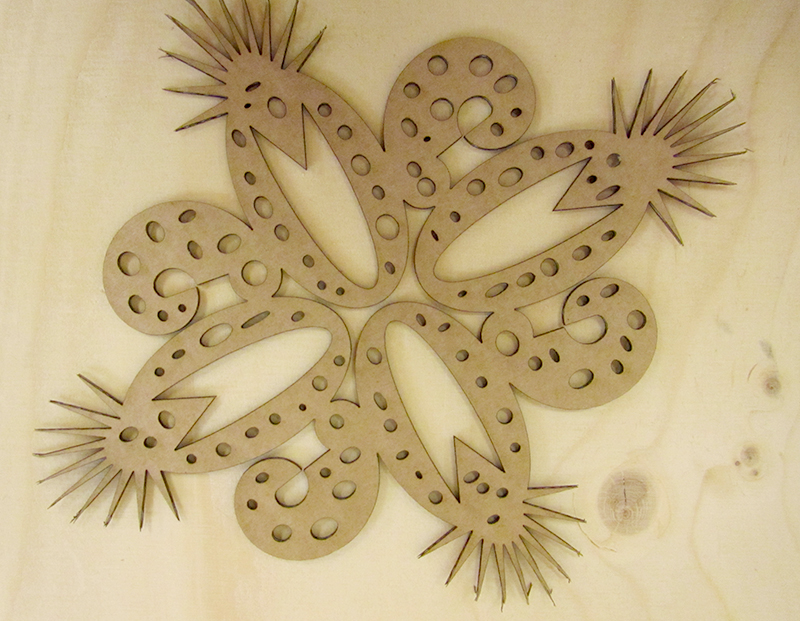
The second day I experimented with random shapes and how to combine them in a way that would result in a coherent product:

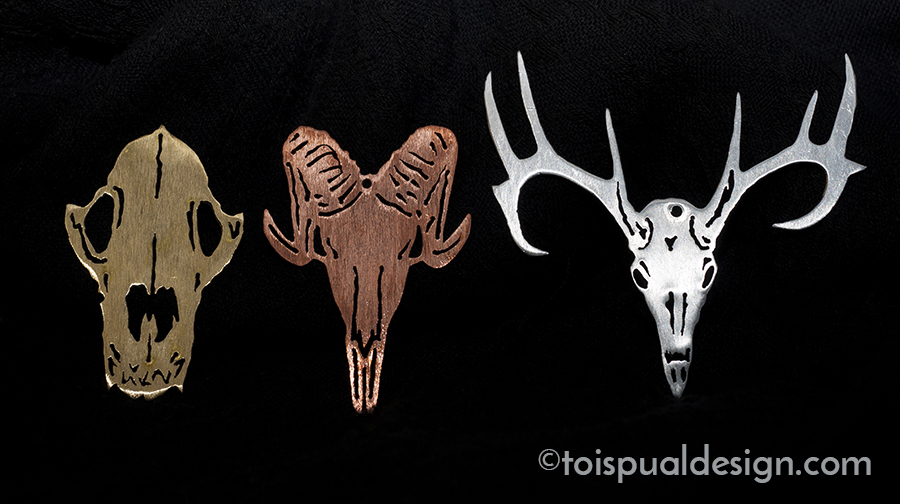
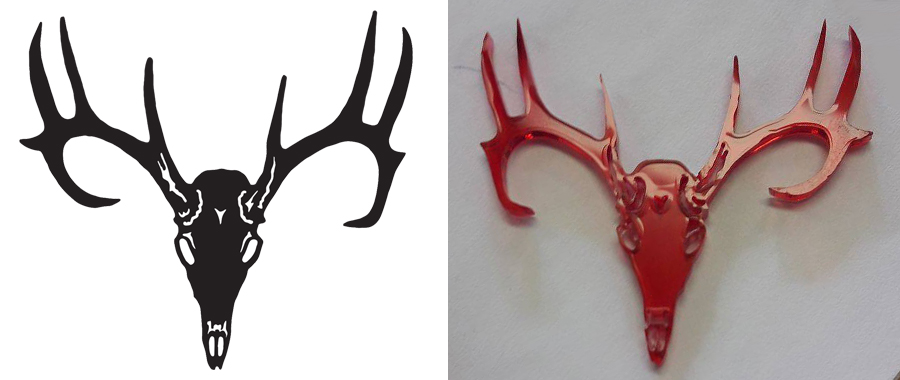
And in the end I tried how I could recreate an old pendant I made as one of my first jewelry projects in my school. I had made the vector file of the skull pendant back when I first made the original so I could cut the same shape/size, and also easily resize the project if I ever needed to. So I just converted the vector into a line form the laser cutter understood, and tested my first plexiglass cut piece.
The original necklace I hand cut out of aluminium is the one on the right:

And here's the original vector, and the end result:

The size of the final product is about 6 x 5 cm, and the shape is a little too delicate for the hard and brittle material. But I consider this a successful test nonetheless. I just have to figure out ways to maybe include the material/techniques in my works in some other way.