User:Tankzter/Cute Handbag: Difference between revisions
Created page with "=<font size="50">Cute Handbag</font>= 2nd project was the Handbag card, it was a combination of working with '''Inkscape''', '''vinil-cutting''' and '''Heat-pressing'''. The..." |
mNo edit summary |
||
| (One intermediate revision by the same user not shown) | |||
| Line 16: | Line 16: | ||
Because I´m '''Heat-pressing''' the image into '''fabric''' I need to '''flip the image''' (done in Inkscape) so I can then lay it down facing the right way after cutting it. | Because I´m '''Heat-pressing''' the image into '''fabric''' I need to '''flip the image''' (done in Inkscape) so I can then lay it down facing the right way after cutting it. | ||
<div><ul> | <div><ul> | ||
<li style="display: inline-block;"> [[File:Vinilcutter.jpg|thumb|500px|Vinil-Cutter|link=]] </li> | <li style="display: inline-block;"> [[File:Vinilcutter.jpg|thumb|none|500px|'''Vinil-Cutter'''|link=]] </li> | ||
<li style="display: inline-block;"> [[File:Chibi Hipo 4.png|thumb|500px|The two Vinil parts|link=]] </li> | <li style="display: inline-block;"> [[File:Chibi Hipo 4.png|thumb|none|500px|'''The two Vinil parts'''|link=]] </li> | ||
<li style="display: inline-block;"> [[File:Heatpress.jpg|thumb|500px|Heatpress|link=]] </li> | <li style="display: inline-block;"> [[File:Heatpress.jpg|thumb|none|500px|'''Heatpress'''|link=]] </li> | ||
</ul></div> | </ul></div> | ||
Latest revision as of 20:30, 2 December 2016
Cute Handbag
2nd project was the Handbag card, it was a combination of working with Inkscape, vinil-cutting and Heat-pressing. The main purpose of this project was to learn to opatate and use the Vinil-cutter and the Heat press.
The vinil-cutter reads pdf format and detects either lines or fillings that you have, in Inkscape you can define the cutting lines by setting them to 0,02 mm in thickness. you can also convert pixel images to bitmap images that the Vinil-cutter can read, or you can have it filled with no lines. finally you can save your file to the pdf format for the Vinil-cutter to read.
Using Inkscape magic
Here I used the tool Trace bitmap to convert the image to manageable image, and then separated the image into two parts for two different colors. After That I smoothed some parts out by editing the paths of the nodes using Edit Nodes tool


Cutting and Heat pressing
Because I´m Heat-pressing the image into fabric I need to flip the image (done in Inkscape) so I can then lay it down facing the right way after cutting it.
-
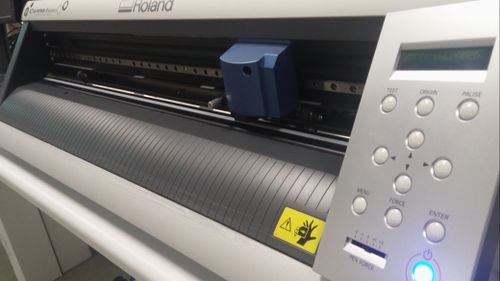
Vinil-Cutter -
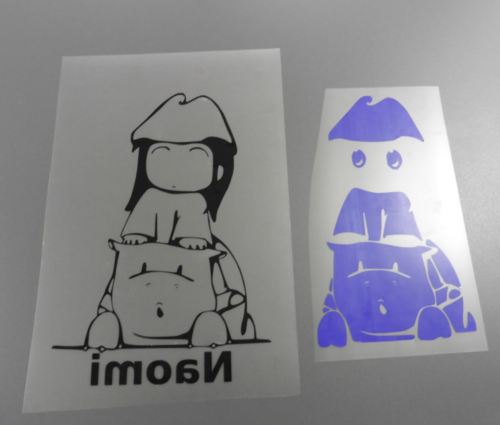
The two Vinil parts -
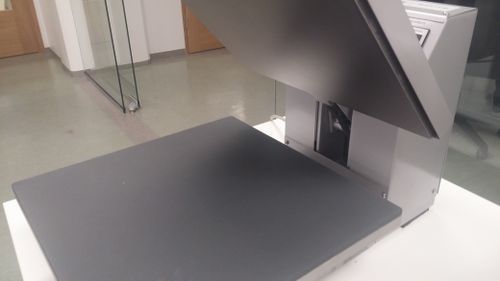
Heatpress
All Complete
Here it is complete, ready to be given as a gift for a friend of mine! :D

