User:Tankzter/playing with a 3d object: Difference between revisions
Jump to navigation
Jump to search
Created page with "Here I started a 3d project where I make use of 3d modeling in two part for two different colors using dual print extrusions of the 3d printer, I also print it out in ABS so..." |
mNo edit summary |
||
| Line 3: | Line 3: | ||
I also print it out in ABS so I can put it into acetone vapor bath to remove the layer liner of the print and get a smoother finish | I also print it out in ABS so I can put it into acetone vapor bath to remove the layer liner of the print and get a smoother finish | ||
The object itself in whole is a pot-lid handle as an replacement for | The object itself in whole is a pot-lid handle as an replacement for a one that broke | ||
<gallery mode="packed-overlay" widths=600px heights=600px caption="The process"> | <gallery mode="packed-overlay" widths=600px heights=600px caption="The process"> | ||
File:Screenshot (3).png| I start with the larger 3d object | File:2016-11-29.png| Inside of Tinkercad (3d program) I create the 3d objects, (there is a hole for the small object and for a screw) | ||
File:Screenshot (4).png| Then I align the smaller 3d object into the bigger one so it fits perfectly and setting | File:2016-11-29 (1).png| Here you can see that the Smaller 3d object does not sit on the bigger object but has a hole and sits in it | ||
File:Screenshot ( | File:Screenshot (3).png| Inside the Makerbot software I start with by inserting the larger 3d object that´s also the base for the other 3d object and setting it to left extrusion for black filament (shown as red color) | ||
File:Screenshot ( | File:Screenshot (4).png| Then insert and I align the smaller 3d object into the bigger one so it fits perfectly and setting it to right extrusion for the white filament | ||
File:Screenshot (6).png| Inside Preview: Here we can see the layers, Time on printing and weight of the print | |||
File:Screenshot (5).png| Here I look at layer 91, just to confirm that the print will do alright on each object | |||
File:20161104_131443.jpg| Here it is out of the 3d printer (printed in ABS with Low settings) | |||
File:20161104_133728.jpg| Here it is filed down to make it smoother | |||
File:20161104_134113.jpg| Here it is inside a glass container with paper drenched in acetone liquid creating acetone vapors | |||
File:20161108_135140.jpg| Here it is out of the vapors after about 3 hours | |||
File:20161110_144343.jpg| And here it is complete after puting it back in for another 3 hours (not much different) | |||
</gallery> | </gallery> | ||
Revision as of 19:49, 29 November 2016
Here I started a 3d project where I make use of 3d modeling in two part for two different colors using dual print extrusions of the 3d printer,
I also print it out in ABS so I can put it into acetone vapor bath to remove the layer liner of the print and get a smoother finish
The object itself in whole is a pot-lid handle as an replacement for a one that broke
- The process
-
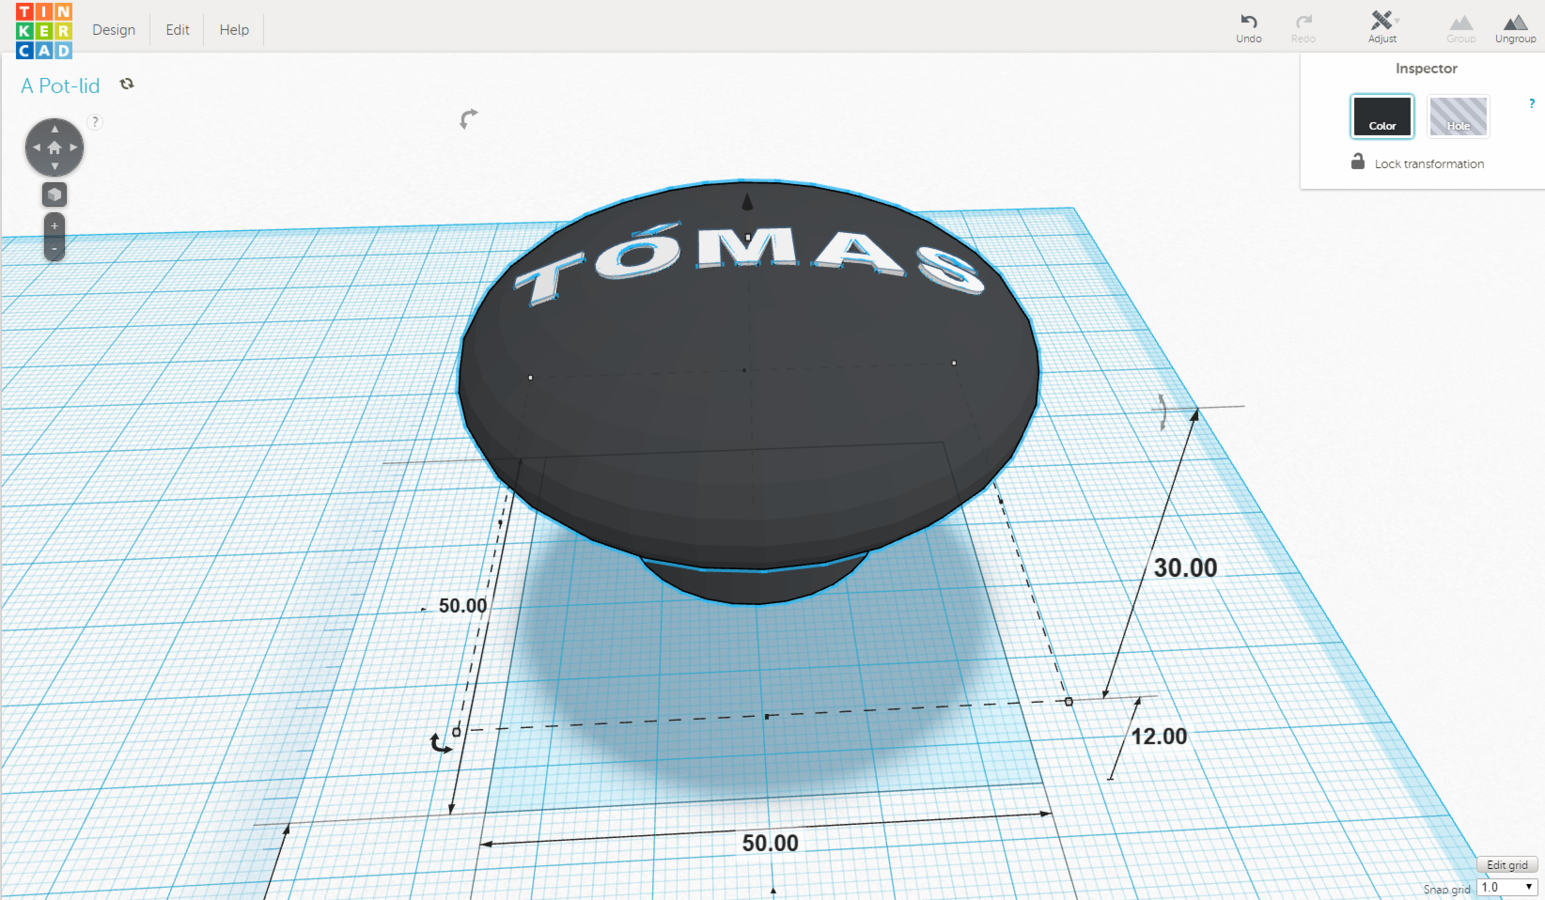 Inside of Tinkercad (3d program) I create the 3d objects, (there is a hole for the small object and for a screw)
 -
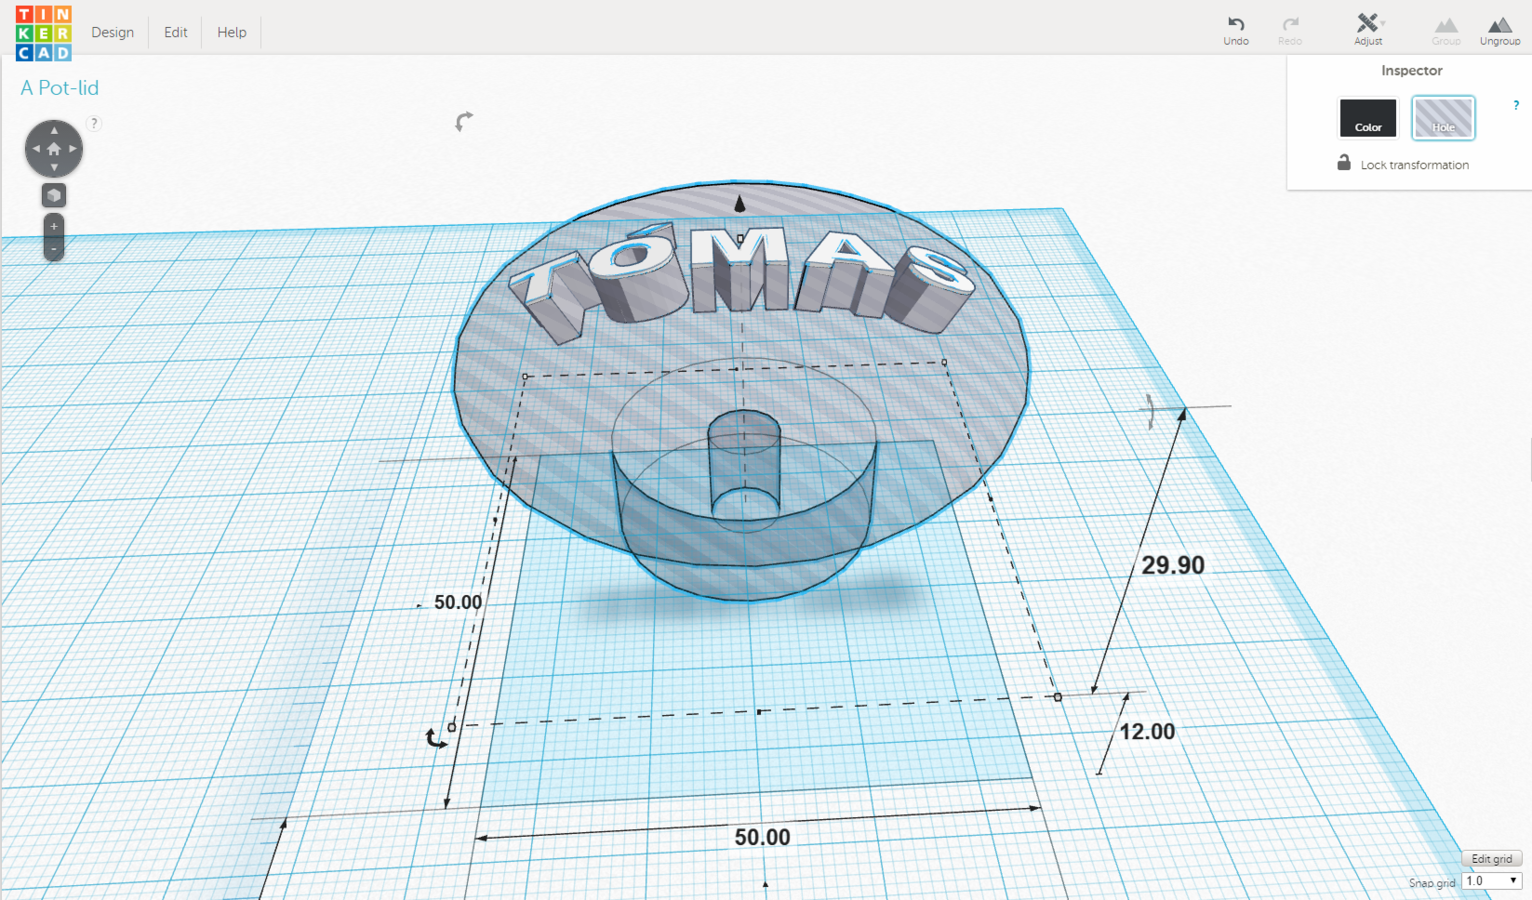 Here you can see that the Smaller 3d object does not sit on the bigger object but has a hole and sits in it
 -
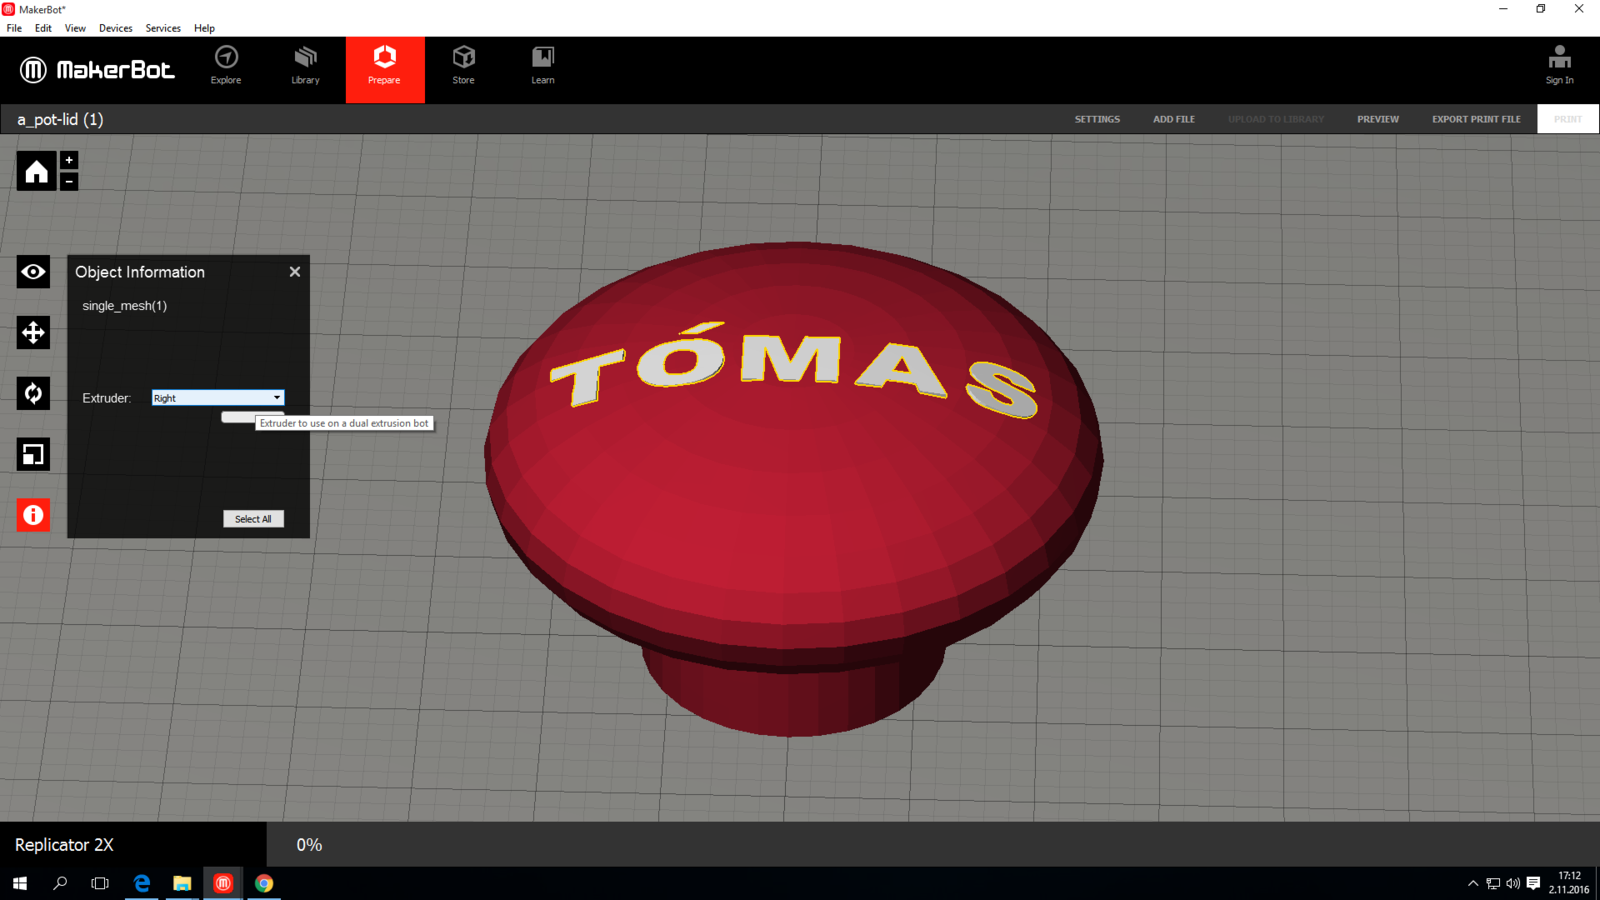
 Inside the Makerbot software I start with by inserting the larger 3d object that´s also the base for the other 3d object and setting it to left extrusion for black filament (shown as red color)
 -
 Then insert and I align the smaller 3d object into the bigger one so it fits perfectly and setting it to right extrusion for the white filament
 -
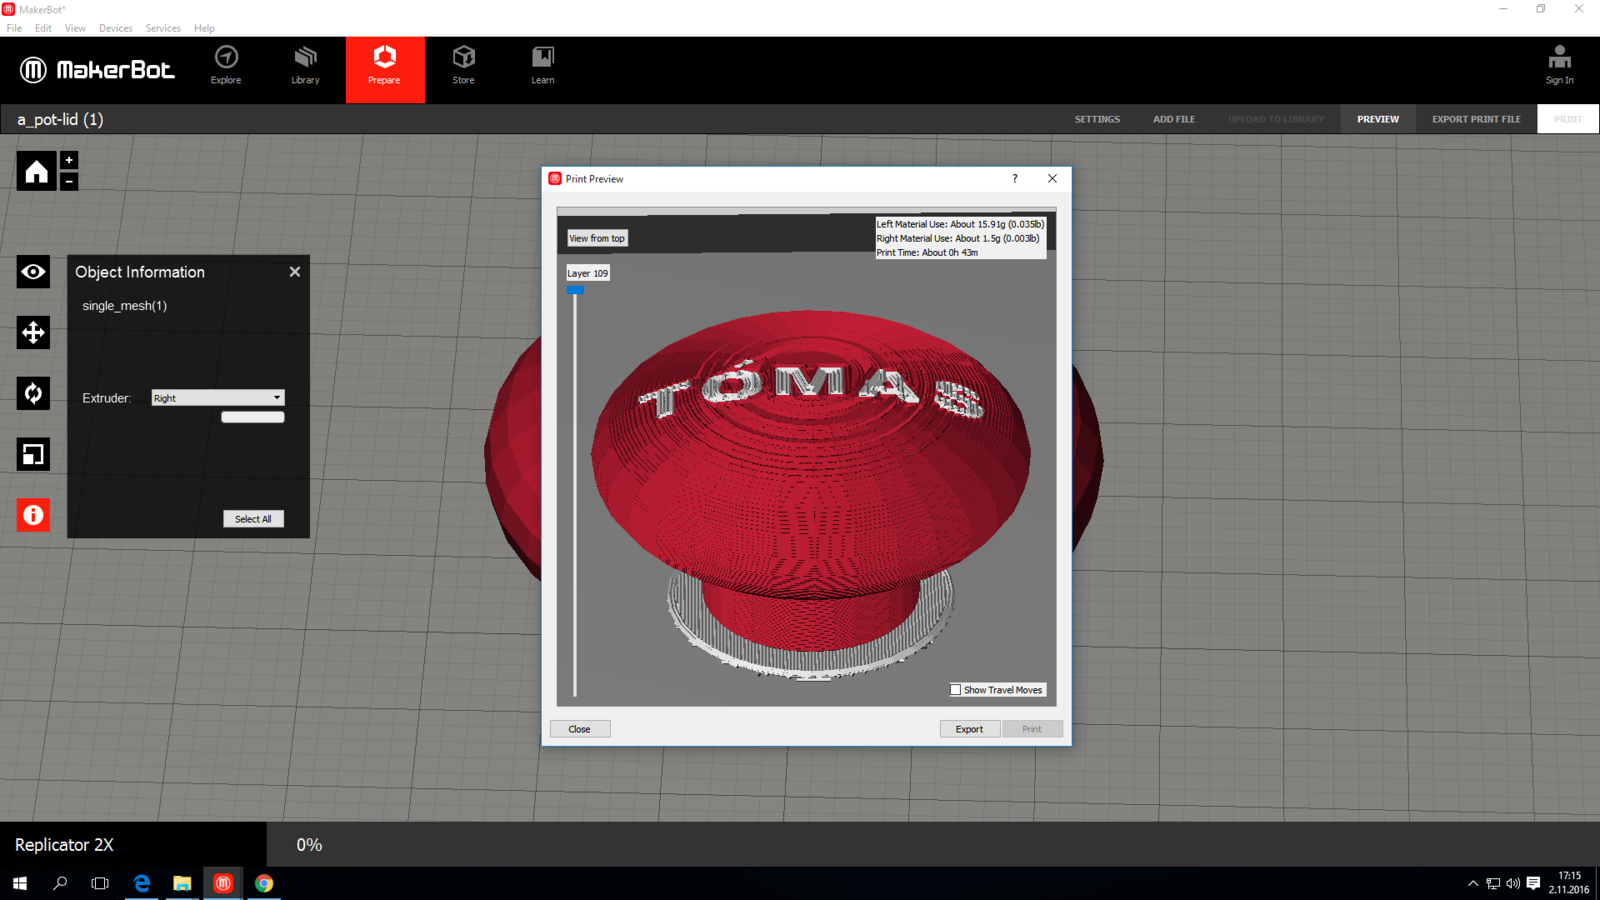 Inside Preview: Here we can see the layers, Time on printing and weight of the print
 -
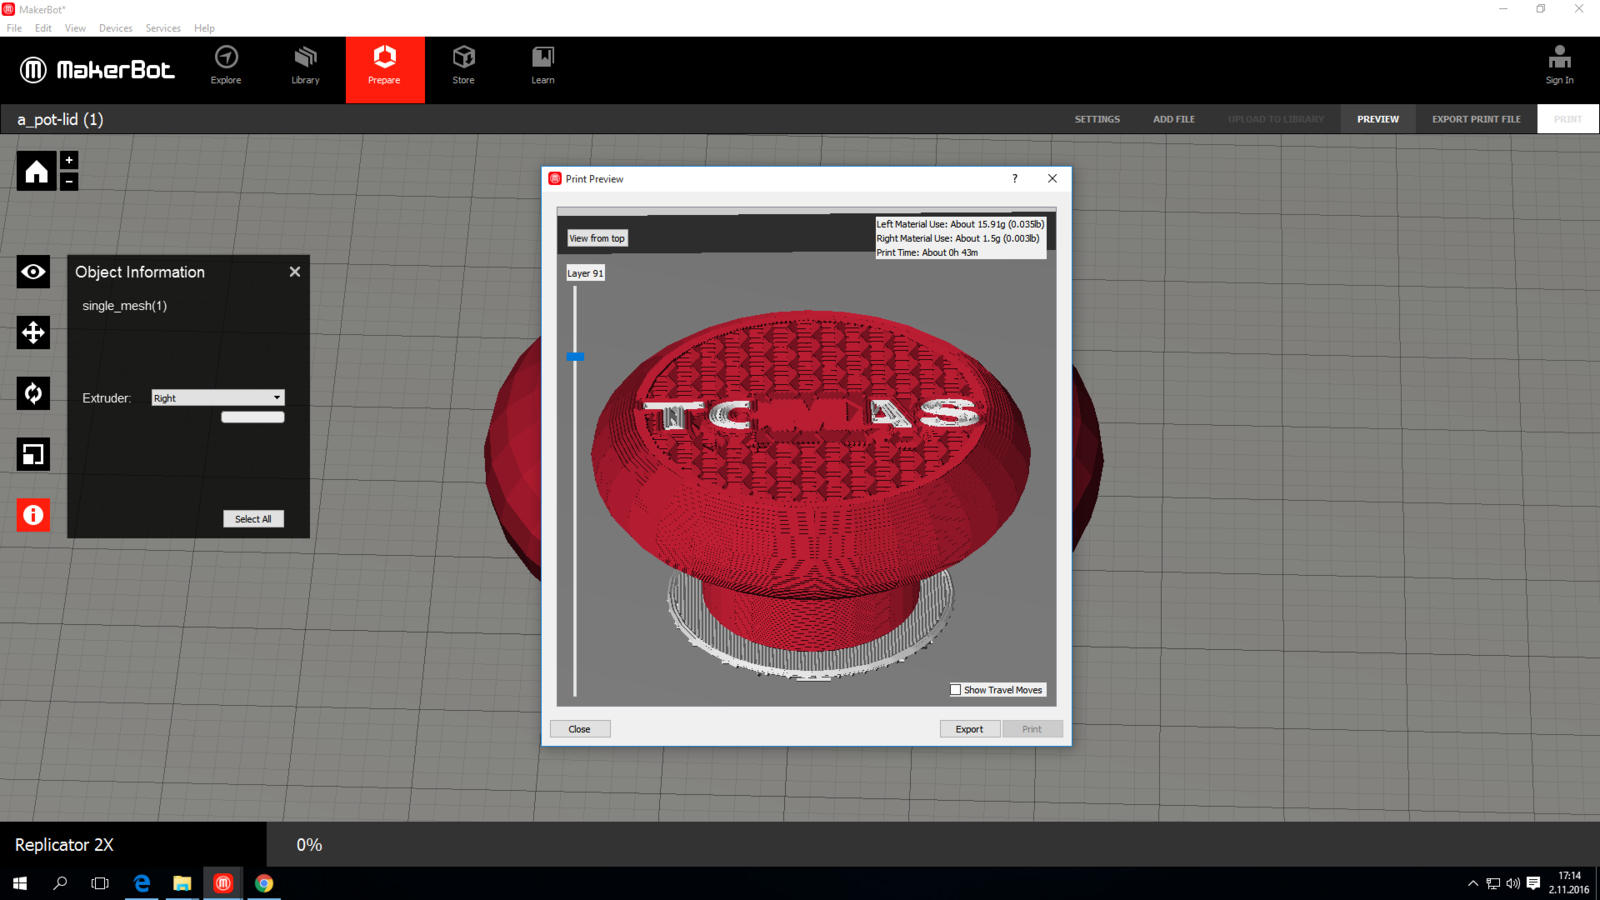 Here I look at layer 91, just to confirm that the print will do alright on each object
 -
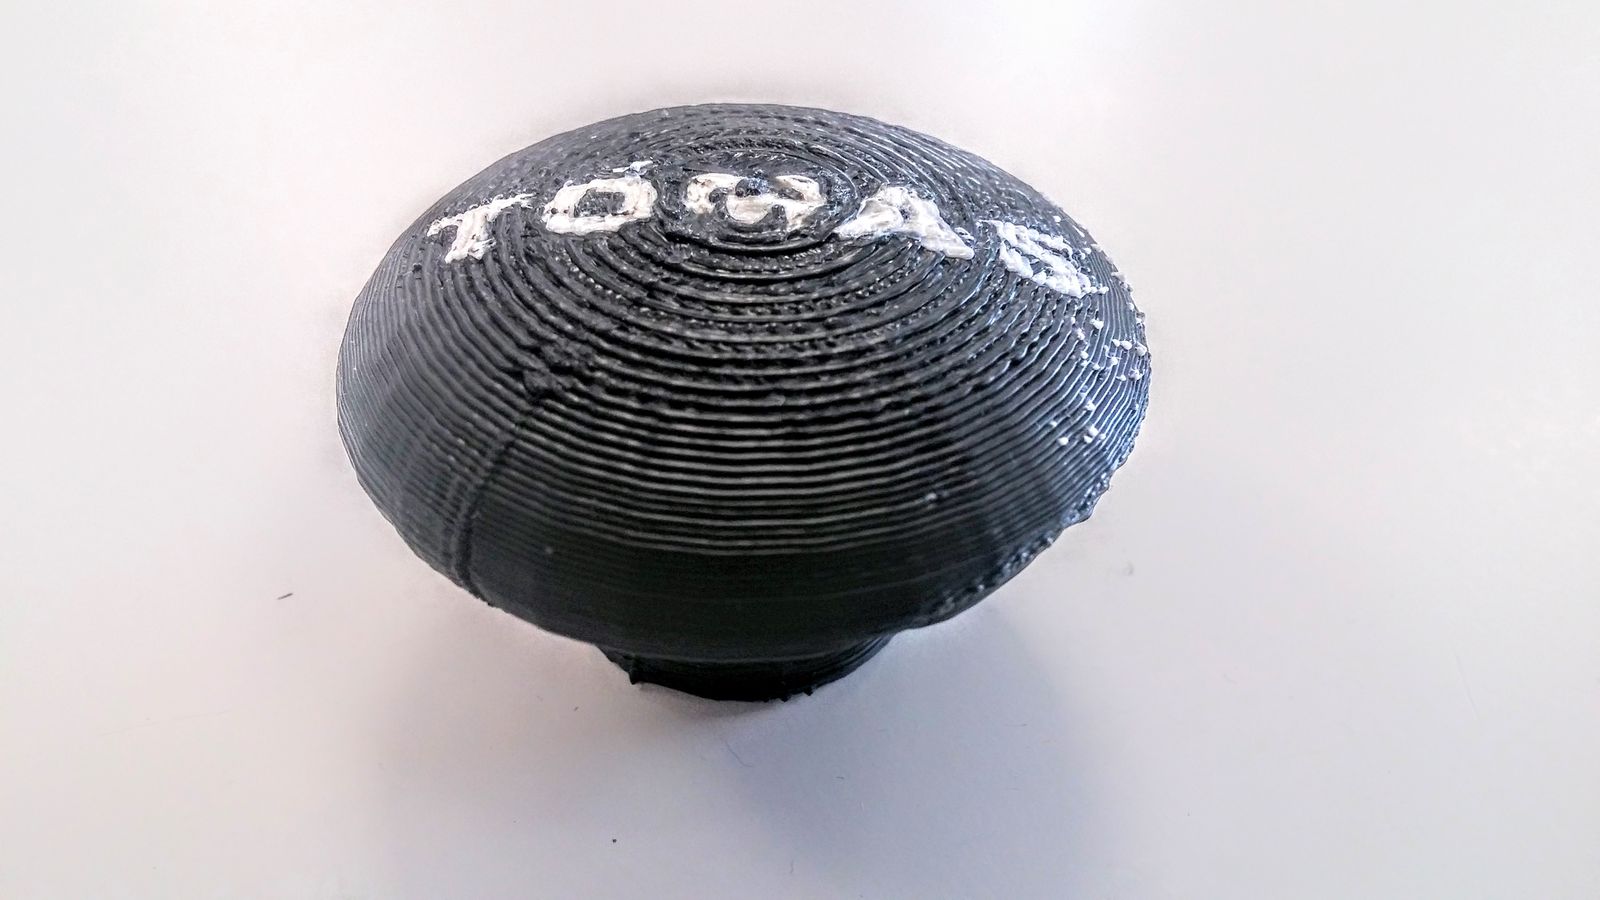 Here it is out of the 3d printer (printed in ABS with Low settings)
 -
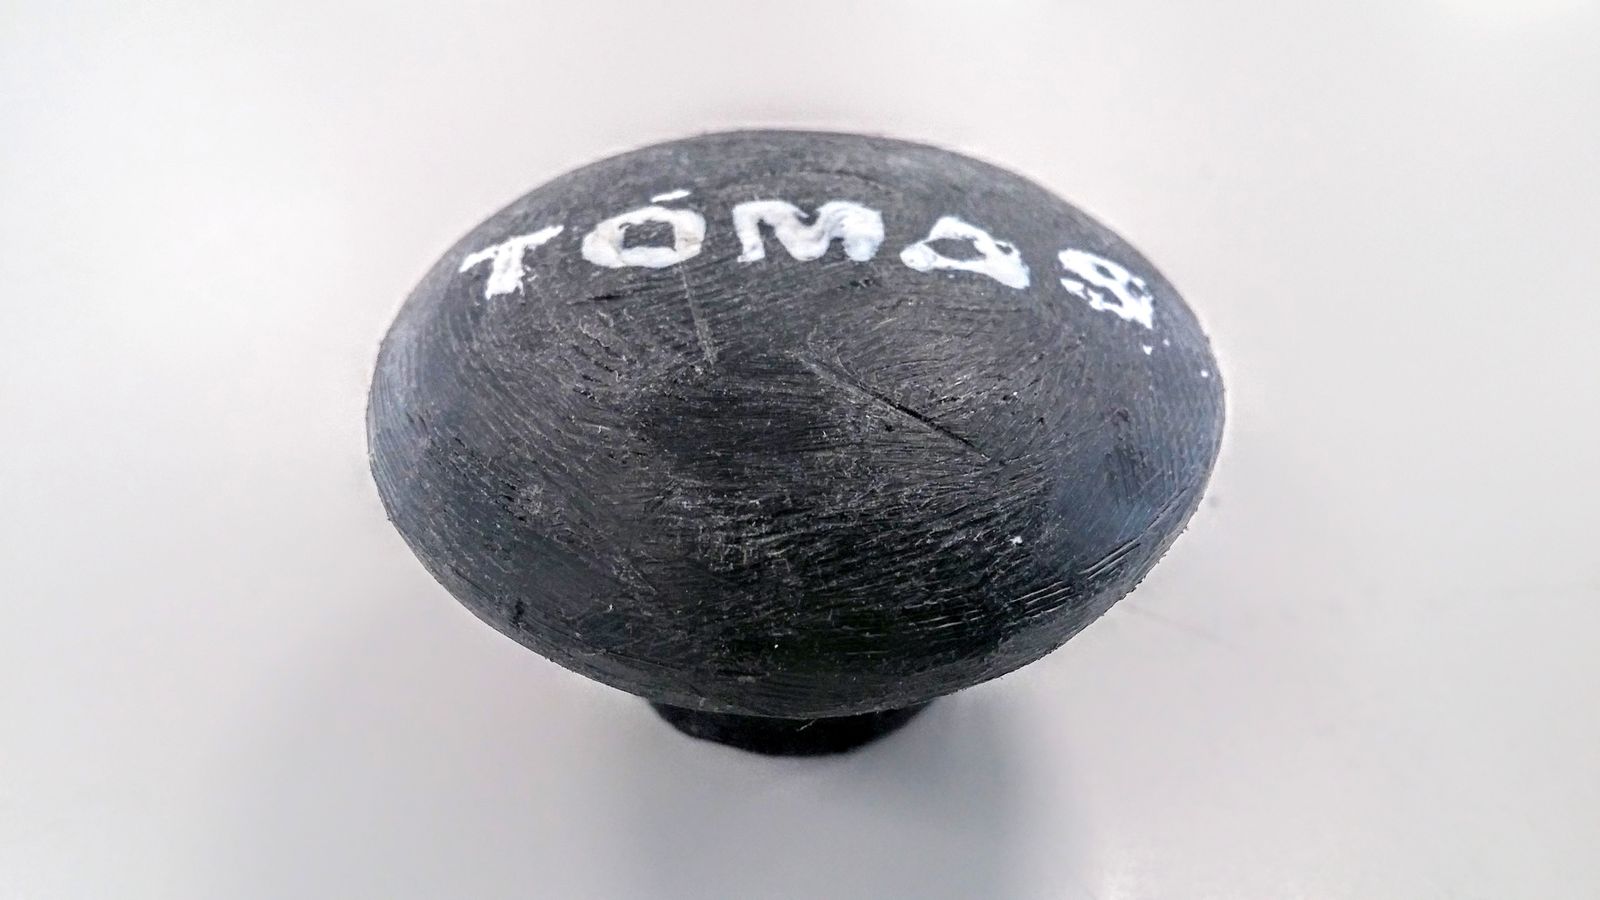 Here it is filed down to make it smoother
 -
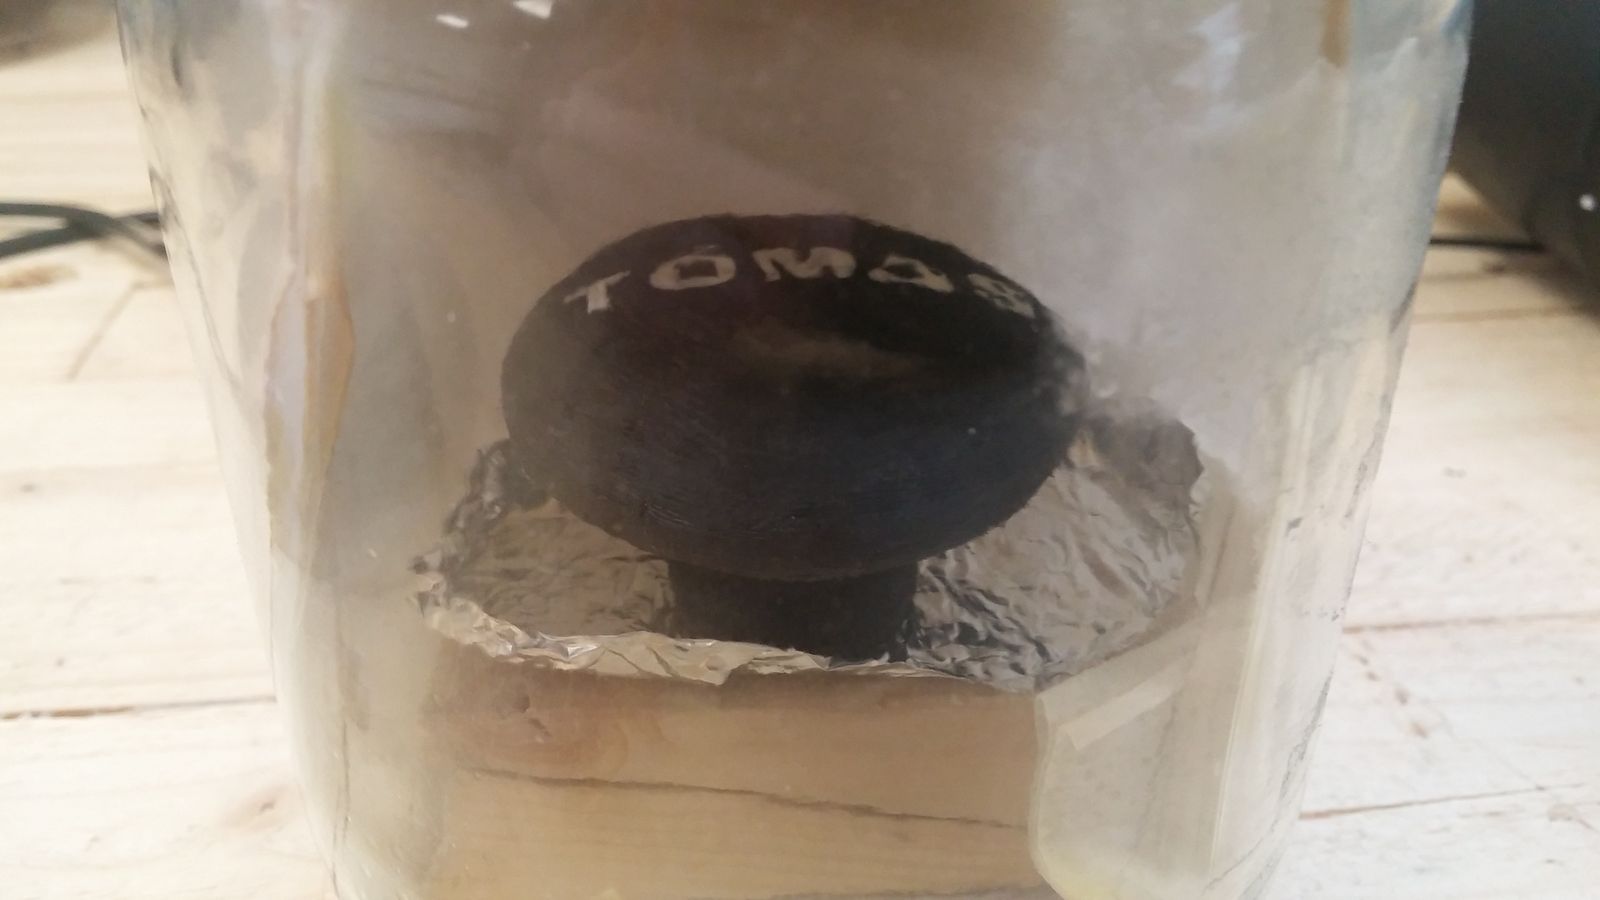 Here it is inside a glass container with paper drenched in acetone liquid creating acetone vapors
 -
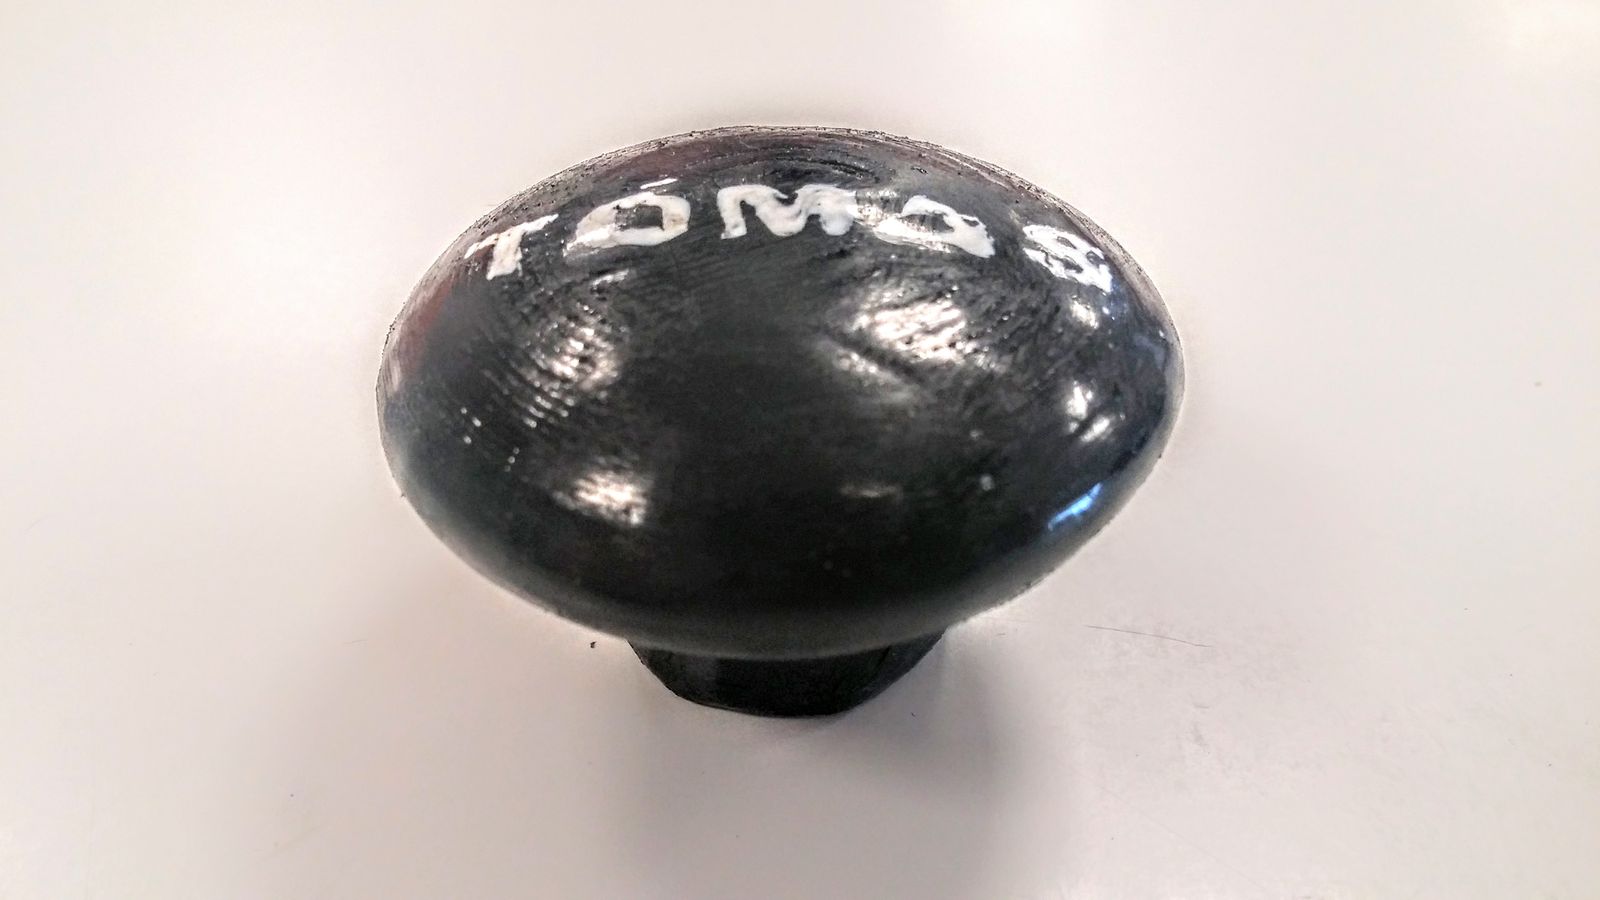 Here it is out of the vapors after about 3 hours
 -
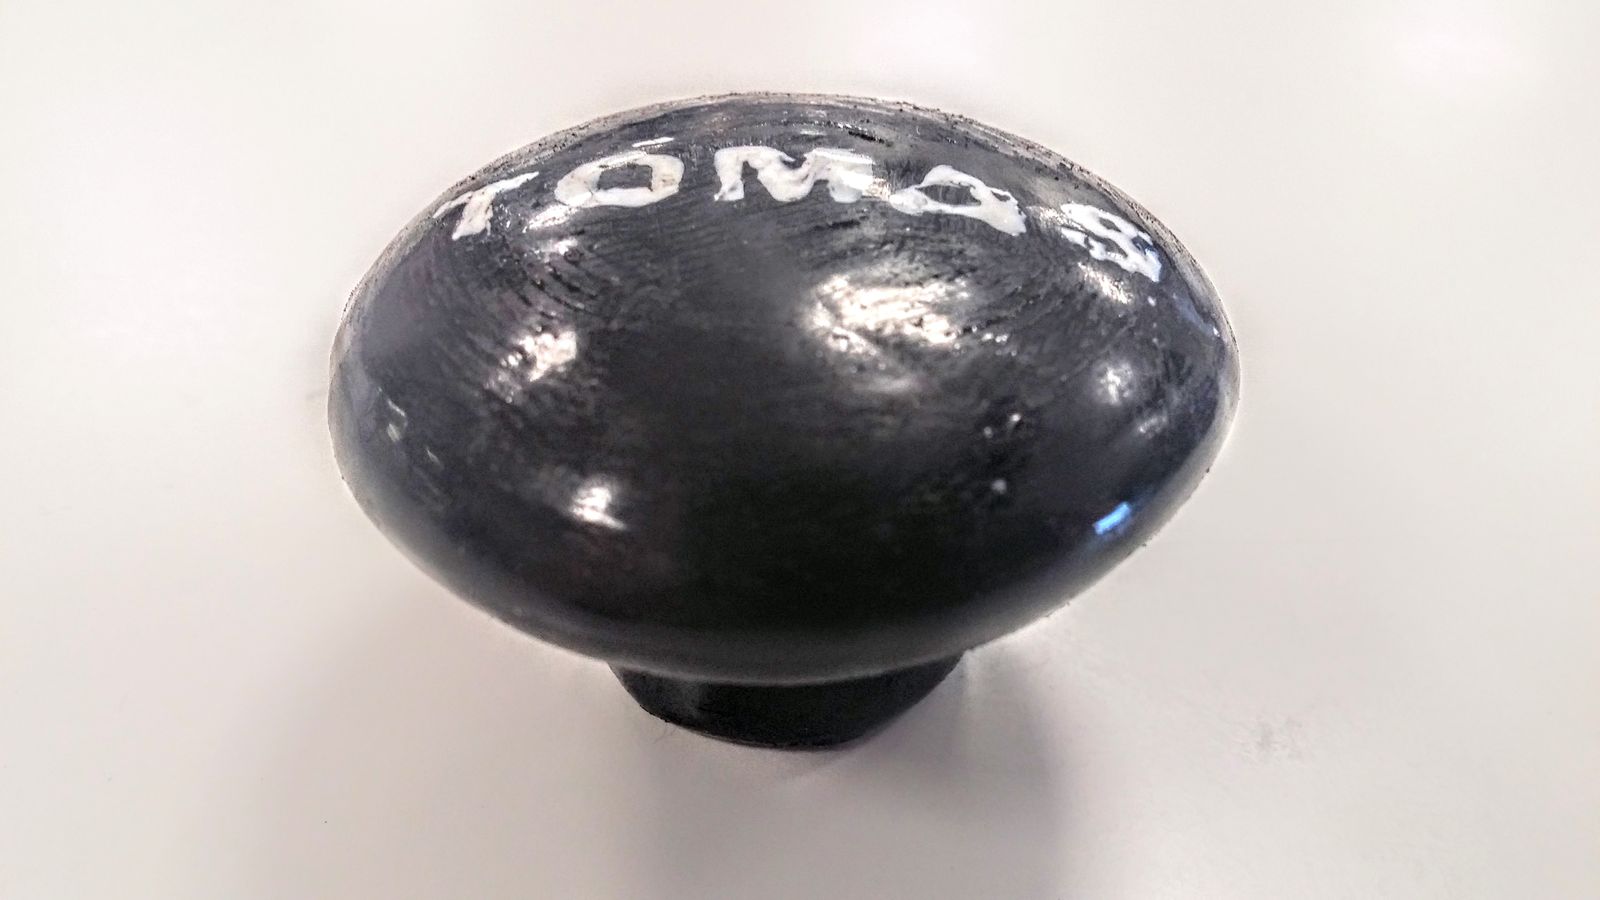 And here it is complete after puting it back in for another 3 hours (not much different)

.png)
.png)
.png)
.png)
.png)


