User:Frosti/Pressfit
Fab Academy - Pressfit
About design
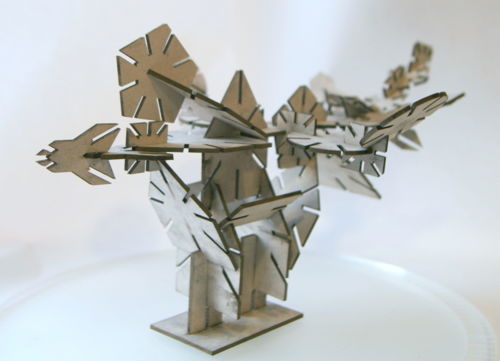
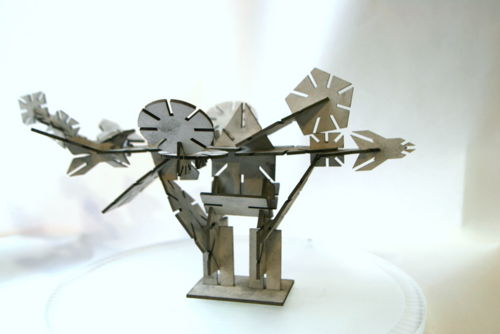
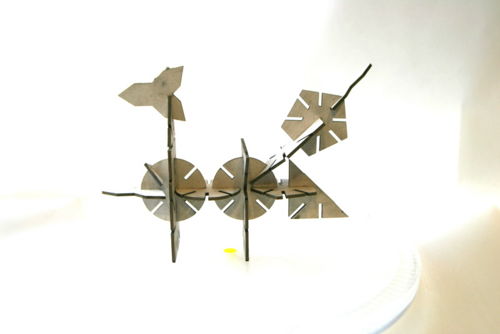
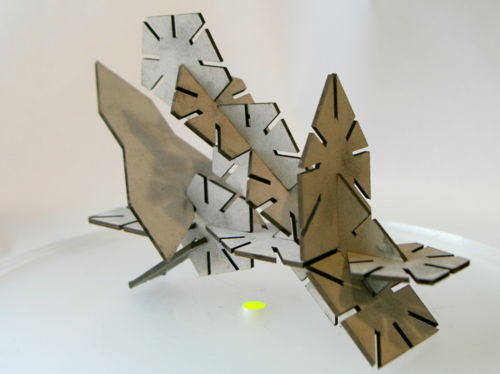
I designed pressfit construction kit in Inkscape. I decided to use cardboard (width 2,5 mm) for the lasercutting.
Earlier we had made experiments how much material of the cardboard the laser takes before cutting. Results for our cardboard showed that for 2.5 mm cardboard press fit we have to design holes that are 2,2 mm.
Steps: When starting in Inkscape i first define the gridlines.
- File-> Document Properties -> Grids,
- Grid units mm
- Spacing X: 2,2 (depending on the thickness of material)
- Spacing Y: 2,2 (depending on the thickness of material)
And made settings to Snap enabled.
- File-> Document Properties -> Snap
- Snap to grids -> Always snap
Then I made different kinds of shapes in Inkscape, rectangles, triangles, pentagon and circles. I also unified 2 shapes at time together by selecting them and holding shift key down, then I press CTRL +.( You can also go to Path-> Union)
I also made shapes to cut in to the shapes for making press fits. I made boxes with the width of desired press fit. Then I selected the two things and then I press CTRL -.
Finally I selected all shapes, and changed the strokes by using. Objects->Fill and Strokes-> Stroke Paint (set to Flat Color), and Stroke Style (set to 0.01 mm)
Frosti's pages


