Inkscape byrjendur vinna med myndir
Hér er hægt að hlaða Inkscape niður (downloada): http://www.inkscape.org
Og hér getur þú hlaðið niður PDF: Inkscape beginners tutorial - short
Contents
- 1 screenshot program
- 2 Stilla stærð á skjalinu
- 3 Að breyta mynd (image) í vektor með því að nota Trace Bitmap í Inkscape
- 4 Að breyta lit á hlut og útlínum hans (fill and stroke)
- 5 Cleaning up image using break apart option
- 6 Typing text
- 7 joining shapes together or cutting them out
- 8 Drawing (tracing) by hand using the bezier tool
- 9 Saving as PDF
- 10 Tips for saving file for laser cutter
- 11 Saving file for vinyl cutter
- 12 Links
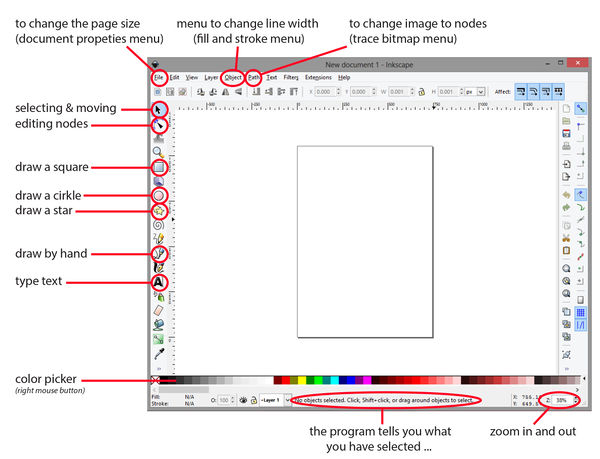
screenshot program
Stilla stærð á skjalinu
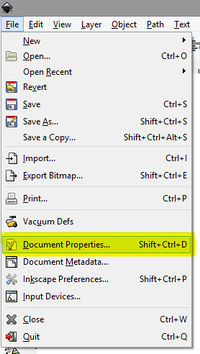
1. Farðu í file → document properties
2. Breyttu mælikvörðum úr px (pixlar) í mm (millimetrar). Breyttu svo vídd (width) og hæð (height) blaðsíðunnar – hér getur verið gott að miða við hversu mikið af efni (límmiðaefni) þú ætlar að nota.
- lasercutter - Epilog_Mini_24 : 60 x 30 cm
- vynilcutter - Roland_GX-24_CAMM-1 : 58 cm wide
Lokaðu svo glugganum.
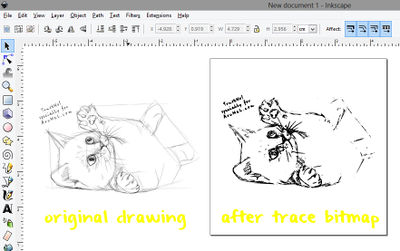
Að breyta mynd (image) í vektor með því að nota Trace Bitmap í Inkscape
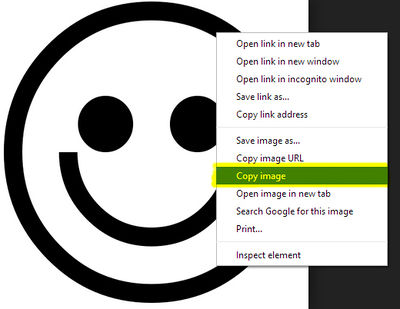
1. Finndu þér mynd á netinu. Hægri smelltu á myndina → copy
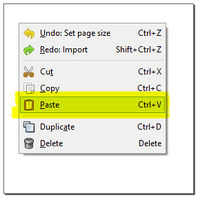
2. Farðu í Inkscape, hægri smelltu og veldu paste
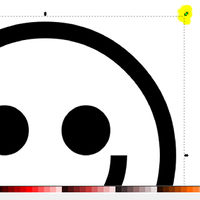
3. Ef myndin er of stór minnkaðu hana þá með því að draga eitt hornanna inn. Haldu CTRL (control) hnappnum niðri á meðan þú minnkar/stækkar til að hlutföllin haldist rétt.
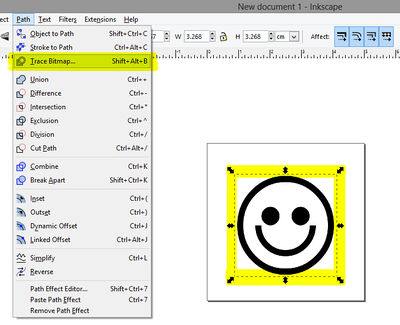
4. Veldu nú myndina, farðu í path → trace bitmap
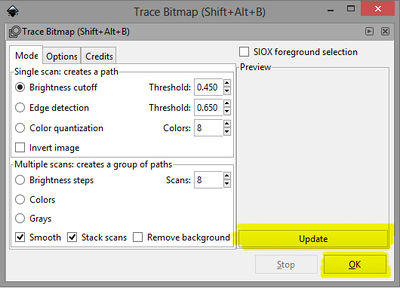
5. Þá opnast nýr gluggi. Smellt fyrst á Update (uppfæra) hnappinn til að forskoða (preview) myndina.
Þú getur svo fiktað í þessum stillingum þar til þér finnst myndin líta vel út.
T.d. að velja Edge Detection – þá nærðu útlínunum. Ólíkar stillingar hér virka á ólíkan hátt, fiktaðu þig áfram. Þegar þú ert sátt/sáttur við útkomuna smelltu á OK og lokaðu glugganum.
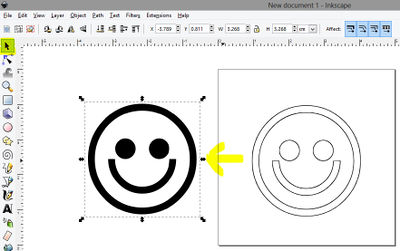
6. Smelltu nú á myndina þína og dragðu hana til. Þá kemur vektoramyndin þín í ljós.
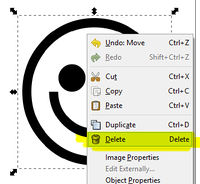
7. Ef þú ert sátt/sáttur við útkomuna þá hægrismellir þú á upprunalegu myndina og eyðir henni (delete).
8. Línuteikningin sem nú er eftir er vektor teikning.
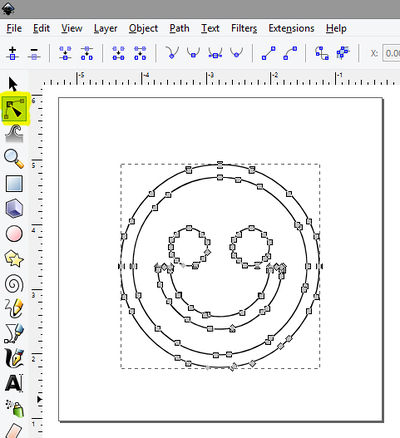
Þú getur núna unnið í myndinni ef þú vilt. Þá velur þú ,,edit“ músina úr tækjastikunni og smellir með henni á myndina. Litlu ferningunum sem myndast þá (kallaðir ,,nodes“) er hægt að breyta og draga þangað sem þú vilt.
Að breyta lit á hlut og útlínum hans (fill and stroke)
1. Farðu í object → fill and stroke, þar stillir þú lit og línur
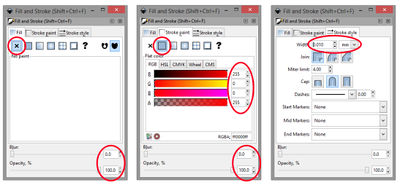
- Laserskurður / Vynilskurður : Engin fylling (fill) → hafðu línur rauðar (í stroke paint) → hafðu þykktina 0,01 mm (í stroke style)
- Rastering í laser (engraving) : Engar línur → hafðu ,,fill" í svörtum lit (dekkri litur = skýrari rastering)
Cleaning up image using break apart option
1. Sometimes a trace bitmap result looks a bit messy, and needs a bit of cleaning up.
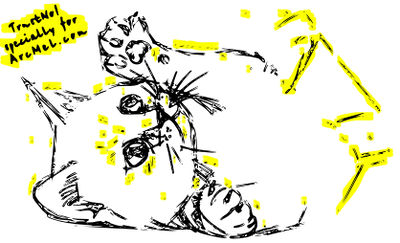
Here is a drawing example, copied into inkscape.
The end result is nice, but up close you can see there is a lots to improve.
Let say I want to remove the area’s highlighted in yellow.
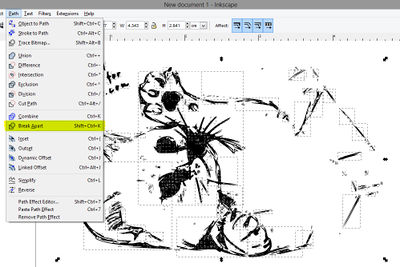
2. Select your shape, and in the menu go to path > break apart.
The image shoud break apart in a lots of little parts.
If it does not work, it could be that you object is still within a group. Then first choose within the menu object > ungroup.
3. You can now select the shapes you want to delete.
Holding the [shift] button while selecting, can help you select multiple objects.
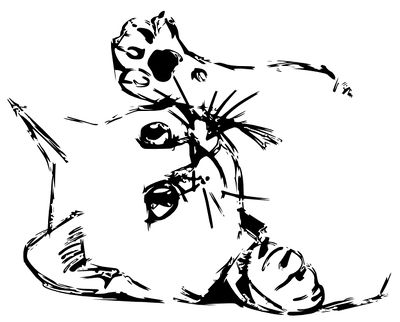
And after some clicking and deleting, my end result is:
Typing text
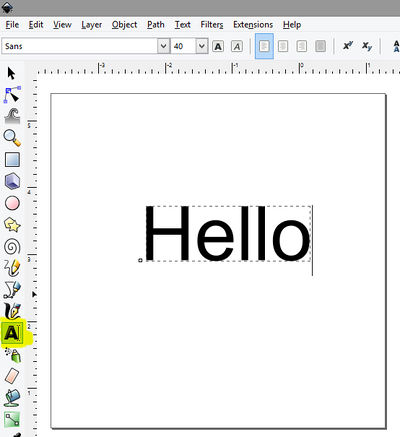
1. Choose the type tool from the toolbar. Click on your document and start typing.
2. Change the font into something fun by selecting the text
and choosing something different in the popdown menu at the top of the screen.
joining shapes together or cutting them out
Drawing (tracing) by hand using the bezier tool
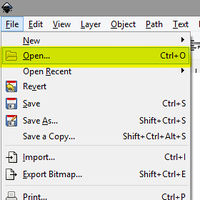
1. Start by opening up a image. In the menu choose file > open, select the right file and click open.
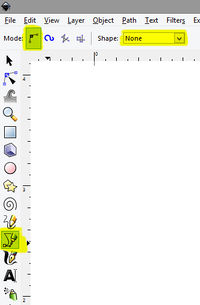
2. From the toolbar choose the bezier tool.
Make sure the mode and shape option at the top of the screen are set on standard.
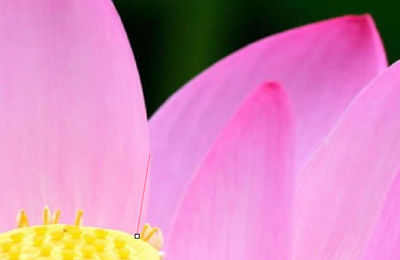
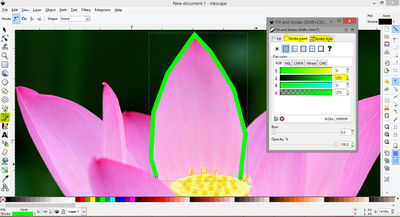
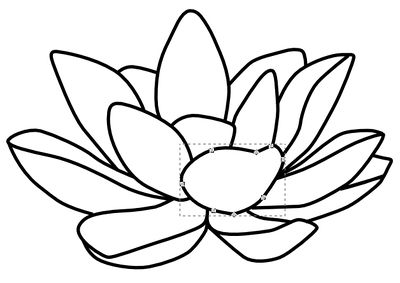
3. For this example I will use a photo of a flower. Let start by tracing one of the leaves.
On the starting point click once, move your mouse along the shape, and click again.
Roughly trace the shape (keep clicking once, several times) and double click to finish.
4. Use the fill and stroke options to change the color and line width to your own preferences. shortcut to open window: [SHIFT] + [CTRL] + [F]
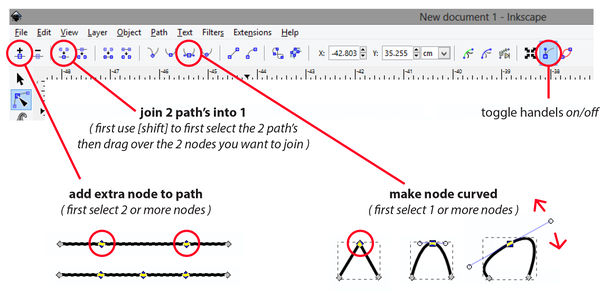
5. To make the line smooth, first change to the edit mouse from the toolbar.
With this tool selected, click on one of the nodes (squares) to select it.
When 1 is selected, click in the top icon menu bar on the node icon with the 2 handles.
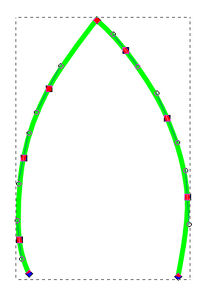
6. This may take so practice, but keep on going until you're happy with the shape.
End result:
Saving as PDF
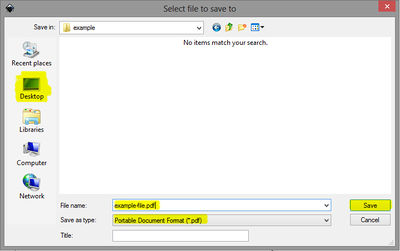
1. Go to the menu and choose file > save as...
2. Choose where you want to save the file, on public computers a good place is (usually) the desktop.
Type in a descriptive file name, and select PDF as file format. Then hit the save button.
3. In this dialog window make sure the standard resolution setting is 600.
And you need to choose if you want to export as drawing or as page.
if unsure, export as drawing. (You can always fix the size later on if necessary.) Hit ok when ready.
- Exporting as drawing: will mean you document size will be as big or as small as you drawing. So it will ignore any document properties settings.
- Exporting as page: will mean it will export your document properties settings. So you're drawing will get cut if a part is drawn outside the document window.
Tips for saving file for laser cutter
Cutting out shapes: set the line width to 0.01 mm
- You can change this by fist selecting your artwork [ctrl] + [A]
- Then open up the fill and stroke menu [shift] + [crtl] + [F]
- Go to the stroke style tab and change the width to 0.01 mm
For engraving shapes, set you drawing on a black fill (no stroke)
- You can change this by fist selecting your artwork [ctrl] + [A]
- Then open up the fill and stroke menu [shift] + [crtl] + [F]
- Go to the stroke paint tab and click on the [X] (no paint)
- Then go to the fill tab en click on the cube (flat color)
- Also check in this tab is the opacity is at 100%
The documents color mode needs to be in RGB (not CMYK) note that in inkscape standard is RGB, but in illustrator it is not.
Read more laser cutter: Epilog_Laser
Saving file for vinyl cutter
Cutting out shapes: set the line width to 0.01 mm
- Fist selecting your artwork [ctrl] + [A]
- Then open up the fill and stroke menu [shift] + [crtl] + [F]
- tun off the fill, and turn on the stoke.
- Go to the stroke style tab and change the width to 0.01 mm
If you use text make sure the font is outlined and joined for a nice result.
- You can change this by fist selecting your artwork [ctrl] + [A]
- Then send the text object to path by [shift] + [ctrl] + [C]
- Make sure you shapes are not grouped by [shift] + [ctrl] + [G]
- Join the letter together by union [shift] + [ctrl] + [+]
